How did it all begin?
It all started in late May 2025 when I received a message from my friend NI, who told me that her colleague FA was planning a cycling trip in Jeju. She asked if I’d be willing to share more information about my experience with FA, since I had gone to Jeju for a cycling trip last year. I said yes of course, and that was how I was introduced to FA.
As we chatted, I found out that FA is also a cycling enthusiast and he has done a few cycling trips around the world, taking his trusty Bianchi Infinito road bike along for his rides. FA then told me about this amazing solo cycling trip he did in Japan in last October, called the Shikoku Challenge.
Even though I have been to Japan many times, I had never heard of Shikoku before this. I only have faint impressions of other people telling me about Shimanami Kaido, a highly-scenic, 70km cycling route that spans six islands in the Seto Inland Sea, connecting Onomichi in Honshu to Imabari, which is in Shikoku. When FA told me that the Shikoku Challenge is modelled after the famous 900km Taiwan round-island ride, my interest was piqued immediately.
I had done the Tour de Taiwan ride in May 2023 and enjoyed it tremendously, and I’ve been looking for a similar round-island route ever since. My Okinawa trip in April/May 2025 was originally supposed to be a round-island ride but our plans changed and we ended up cycling for only three days in Okinawa. As such, there was a bit of unfinished business and unfulfilled desires coming into play.

What is the Shikoku Challenge?
The Shikoku Challenge is a 1,000km round-island ride on Shikoku, the least populated of Japan’s four main islands, located south of Honshu and northeast of Kyushu. Over 11 days, participants will cycle across Shikoku’s four prefectures – Ehime, Kagawa, Tokushima and Kochi, experiencing a variety of scenery, climates and cultures.
The total distance for the Shikoku Challenge is 974.2km but it is rounded up to 1,000km to make it more marketable. Click here to look at the detailed route on the official website. The circuit takes 11 days to complete so the average distance per day is around 88km. However, the daily distance varies widely, between 47.1km and 130.2km.
More importantly, it is not the distance but the elevation gain that is more crucial. The two toughest days will be Days 8 and 9, when the elevation gains are 981m and 1,162m respectively. Over 11 days, the total elevation gain will be 6,879m, or an average of 625m per day.
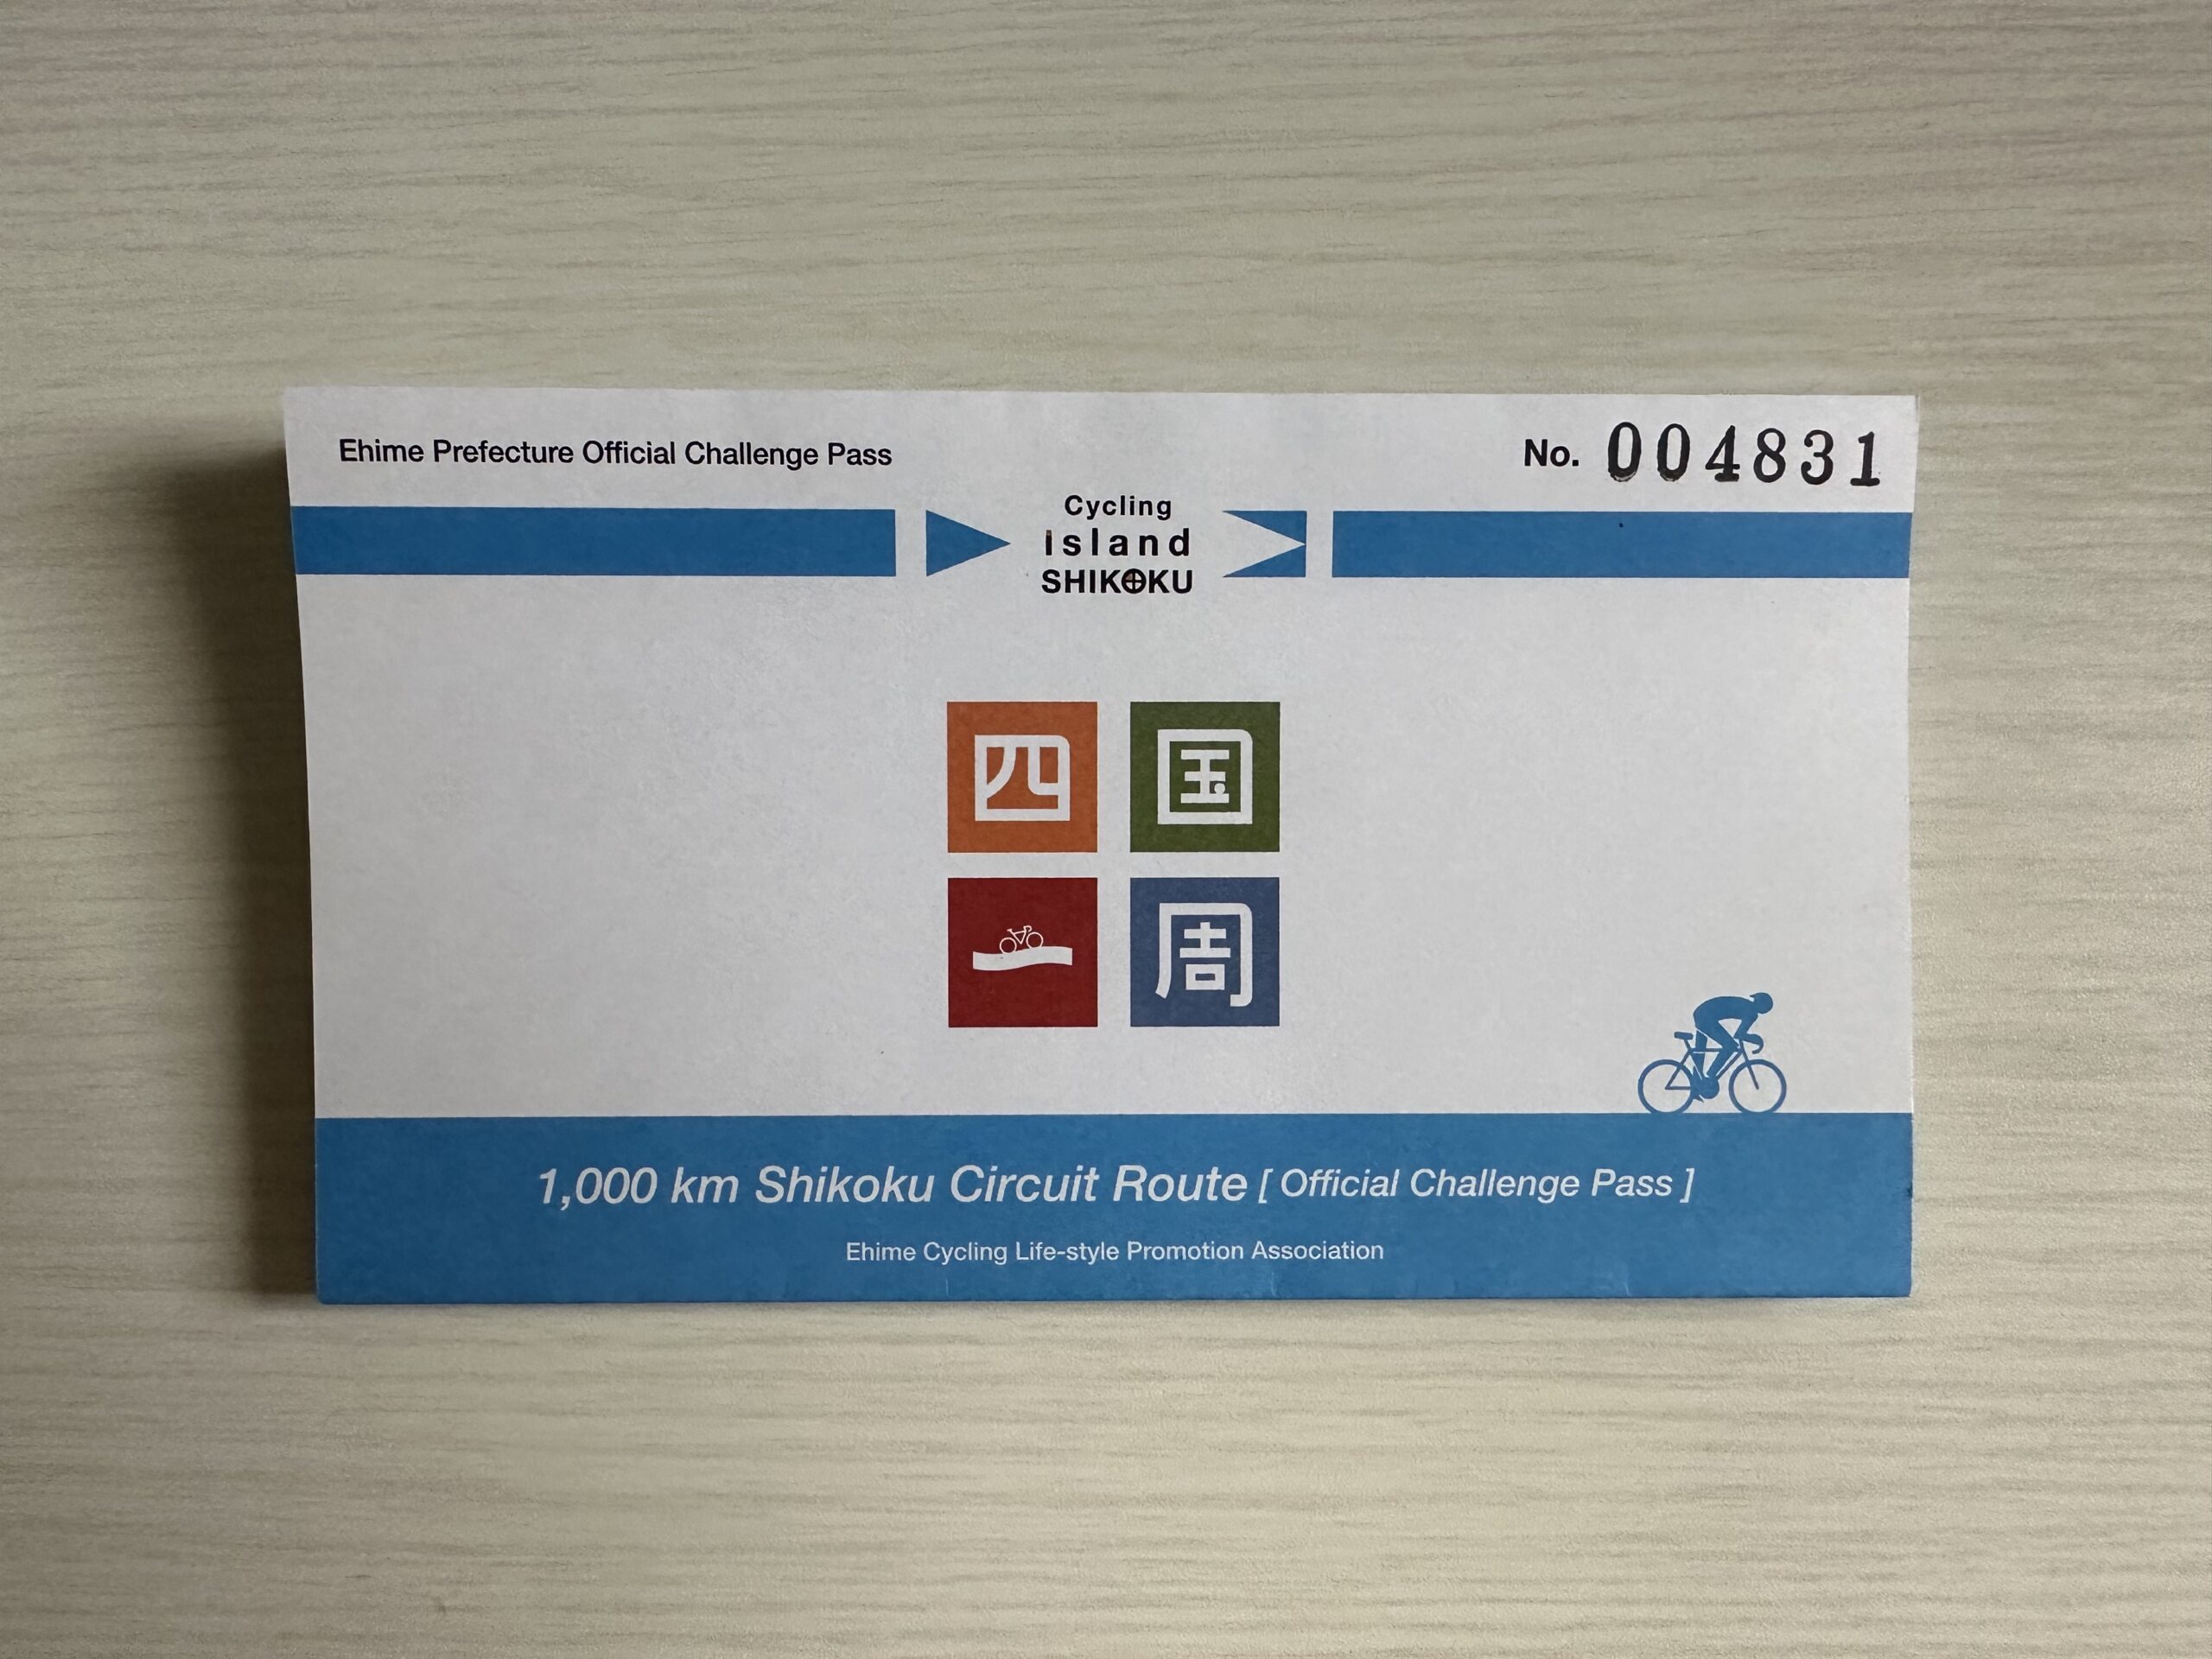
Participants are required to pay a fee to join the Shikoku Challenge. For foreigners, the entry fee is 15,000 yen (S$132.85). It includes an official cycling jersey and an official challenge pass, which is a booklet for you to collect stamps from the 29 road stations (checkpoints) in Shikoku. Upon completing the Shikoku Challenge, participants will receive a completion certificate and a commemorative medal.

The Challenge is completely self-guided so you can join as a solo participant or with a group of friends. You’ll have to organise all the logistics yourself, including getting a bicycle, booking hotels and settling your own meals. There is also no support vehicle or tour company so you’ll have to take care of yourself during the Challenge. The route map is uploaded on the website so you can use it to navigate yourself from place to place each day.
Why should I pay to join the Shikoku Challenge?
If you’re wondering: Why I should pay to join the Shikoku Challenge when I can just follow the free route map provided on the website? And since I have to do everything myself, why should I even pay for it? These are perfectly reasonable questions. Yes, you can definitely cycle the same route on your own for free. But my answer is: It’s really about getting the full experience of participating in something special.
The entry fee includes the official cycling jersey and challenge pass. Wearing the jersey while cycling around Shikoku legitimises the experience and makes you feel like you’re on a special journey. When you meet people along the way and they see that you’re wearing the jersey, they are especially helpful and friendly to you. You’ll really experience the warmth and hospitality of the locals when they know that you’re embarking on the Challenge.
With the challenge pass, you can collect stamps from various checkpoints along the way and receive a certificate upon completing the circuit. The concept is similar to South Korea’s bicycle passport, where cycling enthusiasts can collect stamps from various routes around South Korea.
I highly enjoyed the experience of collecting the stamps in Jeju because it made me feel like I was on a mission, working hard to reach the next checkpoint, giving me something to look forward to. I felt a great sense of accomplishment when I finally collected all the stamps. When you pay for it, you feel like you’re invested in the Shikoku Challenge, and it’s just fun to fully immerse yourself in the experience.

When is the best time to do the Shikoku Challenge?
In terms of weather, the best time to visit Shikoku is in spring (mid-March to end May) and autumn (early October to end November), when temperatures are pleasant and humidity is low. FA did the Shikoku Challenge in October and he experienced good weather – not too hot or not too cold, with one day of rain. Hence, I used it as a guide for my trip and I am pleased to say that mid-October worked out very well for me too.
In October, the average temperature in Shikoku is 19 degrees C, with the minimum and maximum temperatures at 15 and 24 degrees C respectively. The climate will actually vary quite a bit throughout the four prefectures, but it is generally pleasant in October. However, as you will be cycling over 11 days, be prepared to encounter all sorts of conditions – sunny, rainy, cold, windy.
What were my considerations before joining the Shikoku Challenge?
Before committing to the Shikoku Challenge, I had two concerns. The first concern was how I would cope with cycling solo for 11 days. Inspired by FA’s solo expedition, I was determined to do the Shikoku Challenge alone. Japan is very safe so I wasn’t worried about my personal safety. I am generally a cautious cyclist but accidents can always happen when you least expect it. As a solo rider, I knew I had to be extra careful not to fall or get injured.
My bigger worry was technical malfunctions, like encountering flat tyres or mechanical issues with my bicycle. I have some basic knowledge to fix simple issues but I may not be able to fix more severe problems. Being solo means I will have to rely on my wits to resolve any issues I encounter.
My second concern was that I would have to carry all my gear with me for the 11 days. This would be my introduction to bikepacking, something I’ve always wanted to do. For this trip, I won’t be sleeping at campsites so I didn’t need to carry a tent with me. Instead, I will be staying at proper hotels or guest houses each night, so perhaps it is more appropriate to call this bikepacking-lite. However, I’m not the lightest packer so I will need to strategise my gear and optimise my load because every bit of weight matters when cycling.

FA was very helpful as he gave me tips on how to stay safe while cycling alone and how he packed all his gear. He also introduced to me a special technique for wring-drying the cycling jersey and pants after handwashing them each night. He also shared with me the list of accommodations that he stayed at, with his criteria being that the hotel/guesthouse must have an onsen (hot spring). With his advice and encouragement, I felt much more assured that I could handle the task.
Before signing up, I did my homework. The official Shikoku Challenge website has detailed information about the route and checkpoints. It also provides a list of hospitality partners – accommodations that are bike-friendly and offer some discounts to participants of the Shikoku Challenge. I also read blogs and watched YouTube videos of people who have cycled in Shikoku. From what I gathered, I assessed that the Shikoku Challenge was doable. It will be tough for sure, but I believe I can do it. On 4 July 2025, I signed up for the Shikoku Challenge and booked my air ticket. The trip is officially on!
How much did I spend on the trip?
Shikoku Challenge sign up
Beside paying the entry fee of 15,000 yen (S$132.85), I also purchased an official Shikoku Challenge cycling bib for 9,720 yen (S$86.10) and an official cap for 2,700 yen (S$23.90). These are optional items but I thought it would be cool to wear the Shikoku Challenge “uniform” for the trip. I have never worn a cycling bib before so this would be a good opportunity for me to try it. I made payment to the Ehime Prefecture Cycling Project Secretariat on 6 July and received the items 10 days later.

Air Ticket
For air travel, Matsuyama is the gateway to Shikoku and it has the largest airport on the island. However, there is no direct flight from Singapore to Shikoku so the best way is to transit at Tokyo’s Haneda Airport and catch a domestic flight to Matsuyama. I booked my flight with ANA (All Nippon Airways). For my outbound travel to Shikoku, I have a 2 hour 45 minute layover at Tokyo Haneda Airport before my next flight to Matsuyama.
For my return, I decided to spend a few nights in Tokyo before flying back to Singapore. In total, I paid S$890.50 for my ANA air ticket, which comprises four flights in total. It includes one piece of 23kg checked baggage, one piece of 10kg carry-on baggage, seat selection and meals.
Note that besides Matsuyama, there are also airports in the other three prefectures (Kagawa, Tokushima and Kochi), so you can technically fly in to any of these cities instead. However, I strongly recommend that you fly in to Matsuyama and begin your Shikoku Challenge in Matsuyama because there is a 0km marker at the Ehime Prefectural Office. It will be nice to officially start and end your Shikoku Challenge there, as intended.
Bike Rental
Unlike FA, I will not be bringing my own bicycle to Shikoku. Instead, I will be renting one from the Giant Store (click here). When you visit the website, you will find that Matsuyama is not listed as one of the store locations. Don’t worry, just click on the purple “Book Now!” button at the top right corner and you will see Giant Store Matsuyama listed as one of the drop-down options. However, note that you can only make a booking 60 days prior to your pick-up date.
For multi-day, long distance cycling, most seasoned cyclists use road bikes because they can go much faster. However, I feel more comfortable and secure on a hybrid bike (i.e. cross bike) or a city bike. Hence, I rented a Giant Gravier bike. This bicycle is actually a gravel bike, more suited for city cycling than long distance cycling, but it was the only non-road bike model available for rent so I didn’t have any other choice. But having completed the Shikoku Challenge with it, I am pleased to say that the Gravier bike was perfect for me.

The Shikoku Challenge takes 11 days to complete but I wanted to have the bike one day earlier to set up my gear and get used to it, so I picked up the Gravier bike one day in advance. For 12 days’ rental, I paid 32,560 yen (about S$284). That works out to around S$24/day, which is in fact, very reasonable.
If you’re not fussed about using your own bicycle, I actually highly recommend that you rent a bicycle from Giant for the Shikoku Challenge. It will save you the hassle of bringing your own bike from your home country and going through airport security and all that. Giant also provides a basic tool kit for free, comprising of two tyre levers, a lock, a spare tube (chargeable if used), a mini pump and a set of allen keys. The bicycle also comes with front and rear lights, a bell and a kickstand. Truly a fuss-free experience.

Accommodation
I stayed in many of the same hotels as FA because he had already done the homework for me and chose hotels with onsens (where available). However, some of FA’s choices were not available for my dates so I did some research on my own and booked alternative ones.
I pre-booked all my hotels in mid-July, about three months before my departure. I compared the prices listed on the hotel’s official website and on travel platforms like Rakuten, booking.com and Trip.com before choosing the best deal. In the end, I used Rakuten to book four of the hotels (in Imabari, Kanonji, Takamatsu and Tokushima) because the prices were much lower with special promotions like 20% flash coupons. The rest were booked via the hotel’s official website booking engine or directly via email.
After completing the Challenge, I booked an additional night in Matsuyama so I could explore the city at leisure. I also booked another two nights’ stay in Tokyo before flying back home. For my entire trip, I paid a total of about S$1,335 for 15 nights, or an average of S$89/night, which I think is quite decent.
I listed all my hotels below. You can click on each accommodation to visit its website. Unless otherwise stated, I stayed at each hotel for one night.
| Day | City | Hotel Name | Price | Remarks |
| Day 0 | Matsuyama | Candeo Hotels Matsuyama Okaido | 10,792 yen / S$94.72 | No meals |
| Day 1 | Imabari | Shimanami Prime Hotel Imabari | 7,941 yen / S$68.47 | Includes breakfast |
| Day 2 | Kan-onji | Hotel Sunny Inn | 7,280 yen / S$63.32 | Includes breakfast |
| Day 3 | Takamatsu | WeBase Takamatsu | 14,080 yen / S$122.32 | Includes breakfast |
| Day 4 | Tokushima | Hotel Sunroute Tokushima | 11,066 yen / S$96.14 | Includes breakfast |
| Day 5 | Shishikui | Haryugetu Guesthouse | 7,000 yen / S$60.90 | Includes dinner & breakfast |
| Day 6 | Kochi | Dormy Inn Kochi | 13,950 yen / S$122.44 | Includes breakfast |
| Day 7 | Tosakure | Kuroshio Honjin | 27,650 yen / S$240.56 | Includes dinner & breakfast |
| Day 8 | Nakamura | Hotel Crown Hills Nakamura | 6,880 yen / S$60.32 | Includes breakfast |
| Day 9 | Tosashimizu | Hotel Orange | 7,200 yen / S$62.64 | Includes dinner & breakfast |
| Day 10 | Uwajima | Super Hotel Uwajima | 7,200 yen / S$62.82 | Includes breakfast |
| Day 11 & 12 | Matsuyama | Candeo Hotels Matsuyama Okaido | 17,962 yen / S$157.65 | 2 nights, no meals |
| Day 13 & 14 | Tokyo | Anshin Oyado Shinjuku Ekimaeten | 13,960 yen / S$121.25 | 2 nights, includes breakfast |
The only challenging one was for Day 9 of the Shikoku Challenge. The official stop is at Otsuki, a very small fishing town with no hotels. There was only one option there – Hatago Inn, and they only accept reservation by telephone. I wrote in to the Shikoku Challenge Secretariat to ask if they could help me make the reservation by phone, since I don’t speak Japanese. However, they were not able to help so I asked my primary schoolmate, MB, who lives in Tokyo, to call the owner to reserve a room and prepare dinner for me.
All was good until 29 September 2025, when I looked through all my accommodations for my final checks. I discovered by chance that Hatago Inn was listed as “Permanently Closed” on Google Maps. I asked MB to help me call the property to confirm this. She spoke to the owner, who said that he fell ill and couldn’t continue running the inn. I was sorry for the owner but I was bummed because Hatago Inn was the only good option in Otsuki and I was left without an accommodation just one and a half weeks before my departure.
I quickly searched for an alternative place to stay. There was really nothing available within 10km of Hatago Inn at Otsuki; I don’t understand why the town is picked as the stop for Day 9 when there is a dearth of accommodation there. In the end, I settled for Hotel Orange at Tosashimizu, about 22km away from Hatago Inn. This means that my cycling distance for Day 9 will be 22km shorter than planned, and consequently, 22km longer on Day 10.
Lesson learnt: always check that everything is in order before departure and be prepared to make changes to your plans. If I had not checked, I would have turned up in Otsuki at the end of Day 9 to find my accommodation closed. That would have been quite a nightmare after a long day of riding.
Gear
Since this was my first time bikepacking, I had to upgrade some of my gear and buy stuff that I didn’t already have so that I could have the best cycling experience. These are the things I bought specially for the trip:
- Quad Lock out front mount and iPhone 14 Pro mag case: S$104.36
- Rockbros mini portable electric bicycle pump: S$44.50
- Rockbros waterproof upper tube bag and a portable cable lock: S$27.11
- Rockbros waterproof 3-litre handlebar bag: S$23.70
- Rhinowalk 10-litre saddle bag and a 3-litre triangle frame bag: S$58.63
- Decathlon mountain biking shoes: S$54.90
- Rockbros photochromic polarised UV sunglasses: S$16.87
- Rockbros ice silk arm sleeves: S$6.09
- Redmi Watch 5 Active: S$35.90
- Kuxiu 10,000mAh power bank: S$96.71
Travel Insurance
Of course, I never travel without buying travel insurance. I bought a TravelEasy Flex Premier Plan from MSIG for S$83.40. It includes cancel for any reason and adventure.
eSIM
For this trip, I decided to try a different eSIM provider – I previously used Yoowifi and Voyafly. After doing some quick research, I settled on Ubigi because it provided 5G connection on two networks – NTT Docomo and KDDI, supposedly even in rural areas. Considering I will be visiting some rural areas in Shikoku, I decided that it was important to be able to connect to NTT Docomo, which has strong networks across Japan.
I bought a 25GB data plan valid for 30 days. The original price is US$32 but I used a discount code from a website and enjoyed 10% off, so I paid US$28.80 (S$37.23). If the data is not enough, I can also top up using the app, so it is pretty convenient.
How did I physically prepare for the trip?
My biggest challenge was not the distance but the elevation gain, because as you know, Singapore is almost entirely flat so we don’t have big hills to train to replicate the terrain in Shikoku. Even for my Taiwan round-island trip (900km over 9 days), the total elevation gain was 4,706m, or 523m per day on average. For the Shikoku Challenge, the total elevation gain will be 6,879m, or an average of 625m per day. So I know the Shikoku Challenge will really push me to my limits.
To prepare myself physically, I did my first prep ride on 10 August, exactly two months before the Shikoku Challenge. I cycled about 72km but the ride was really to test out my new gear and equipment, making sure that they work well and that I can fit everything I plan to carry for 11 days into the bags. In all, I did five prep rides, with the distance ranging between 71km and 83km, carrying about 90% of my intended load on the rides. It wasn’t as much as I hoped, but it was fine for me.
What did I pack for the Shikoku Challenge?
As I extended my stay in Tokyo for two nights after completing the Challenge, this was not a pure bikepacking trip. Hence, I brought along my 20-inch luggage and deposited it at the hotel in Matsuyama for the duration of the Challenge.
For the 11 days of bikepacking during the Shikoku Challenge, this is a list of everything I carried with me:
Bicycle accessories:
- Quad Lock out front mount (for iPhone)
- Rockbros waterproof upper tube bag
- Rockbros waterproof 3-litre handlebar bag
- Rhinowalk 3-litre triangle frame bag
- Rhinowalk 10-litre saddle bag
- Rockbros portable cable lock
- Rockbros mini portable electric bicycle pump
- Mini pump (provided by Giant; as a backup)
- Spare tube (provided by Giant)
- Multi-tool kit (provided by Giant)
- 2 x tyre levers (provided by Giant)
- Front light (provided by Giant)
- Rear light (clip on to my saddle bag)
- Bicycle patches (self-adhesive bicycle tube repair kit)
Cycling gear & clothes:
- 1 x Official Shikoku Challenge cycling jersey
- 1 x spare cycling jersey
- 1 x Official Shikoku Challenge cycling bib
- 1 x Official Shikoku Challenge cycling cap
- 1 x lightweight Decathlon waterproof jacket
- 1 x helmet
- 1 x 500ml squeeze water bottle
- 1 pair of sunglasses
- 1 pair of cycling gloves
- 1 pair of Decathlon mountain biking shoes
- 2 pairs of socks
- 2 pairs of underwear
- 1 x quick-dry T-shirt (for civilian wear)
- 1 pair of Decathlon hiking pants with detachable leg sleeves (for civilian wear)
- 1 pair of Keen sandals (for civilian wear)
- 1 x lightweight Decathlon waterproof jacket with hood (for civilian wear)
Electronic devices & accessories:
- 1 x Kuxiu 10000mAh power bank
- 1 x Anker power bank
- GoPro with handlebar mount
- DJI Osmo Pocket 3 & spare battery
- iPhone 14 Pro with Quadlock mag case
- Apple Watch
- Redmi Watch
- Mogics power bagel (travel power strip & adaptor)
- USB cables, chargers and adaptors for my electronic devices
- Selfie stick
Other miscellaneous items:
- Small wallet containing cash and credit cards
- 2 x packets of GU Energy Chews
- 4 x packets of 100 Plus isotonic powder
- First aid kit & medication
- Lip balm
- Eye drops
- Joseon sunscreen stick (for face)
- Banana Boat sunscreen (for body)
- Small ziplock bags for passport and challenge pass (to keep them waterproof)
- 2 x very compact foldable tote bags (for carrying my accessories and gear)
- 3 x packets of wet wipes [don’t need so many actually]
- 3 x packets of tissue paper
- 1 x small cloth/rag (for cleaning/drying my wet gear)
- Toiletries: Tongue scraper, floss pick, facial wash (note: toothbrush, toothpaste, shampoo and body wash are all provided in Japanese hotels)
- 1 x nail clipper

With my bags packed and all the necessary preparations done, I was ready to go. Shikoku Challenge here I come!